Something looking great is fantastic, but something solving a real-world issue or making the end user’s life better is crucial to creating a sticky and valuable product or solution. To achieve this, you must understand who your end users are and what they need. And, one useful tool you can use in the early stages of design are User Personas.
So, what exactly is a User Persona? Simply put, a persona is a fictional but realistic portrayal of a target user of your product or solution; each persona represents an entire group or audience of users. As a designer focusing on UX, you’ll start the design process by conducting User research, building empathy with your target users, and identifying what they need from the product you are designing.
A User Persona embodies everything you learned from the research phase, including user needs and goals, behaviour patterns, pain points and any noteworthy user characteristics. As seen below, you’ll present your persona in an easy-to-digest document. You can include an image, a made-up name and fictional details to humanise your end user further.

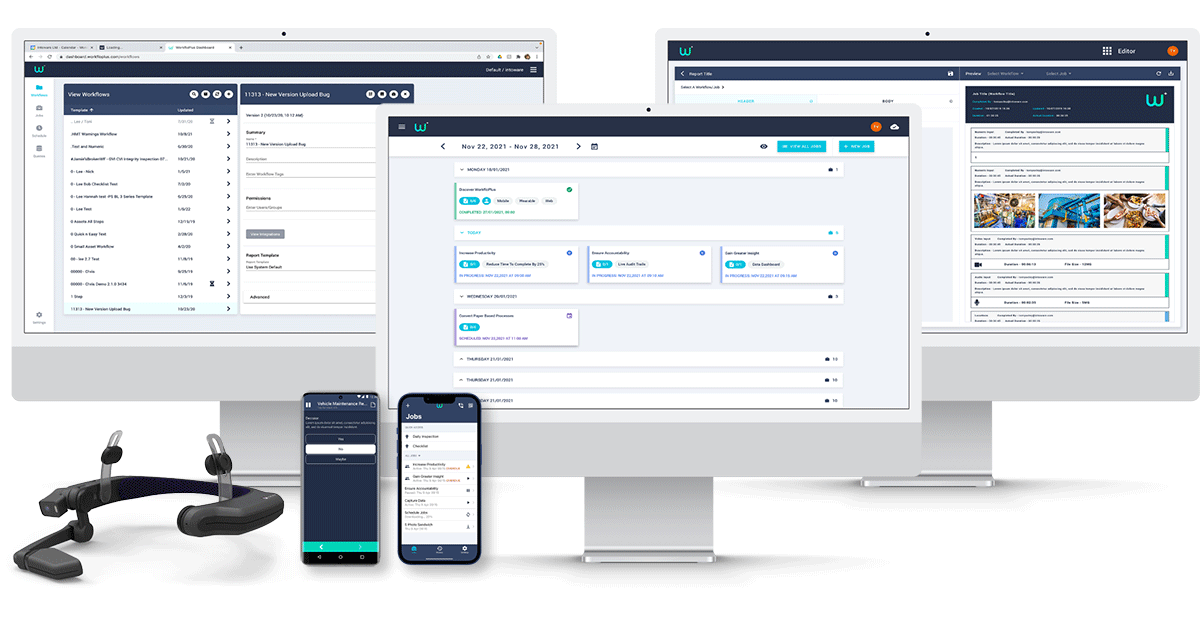
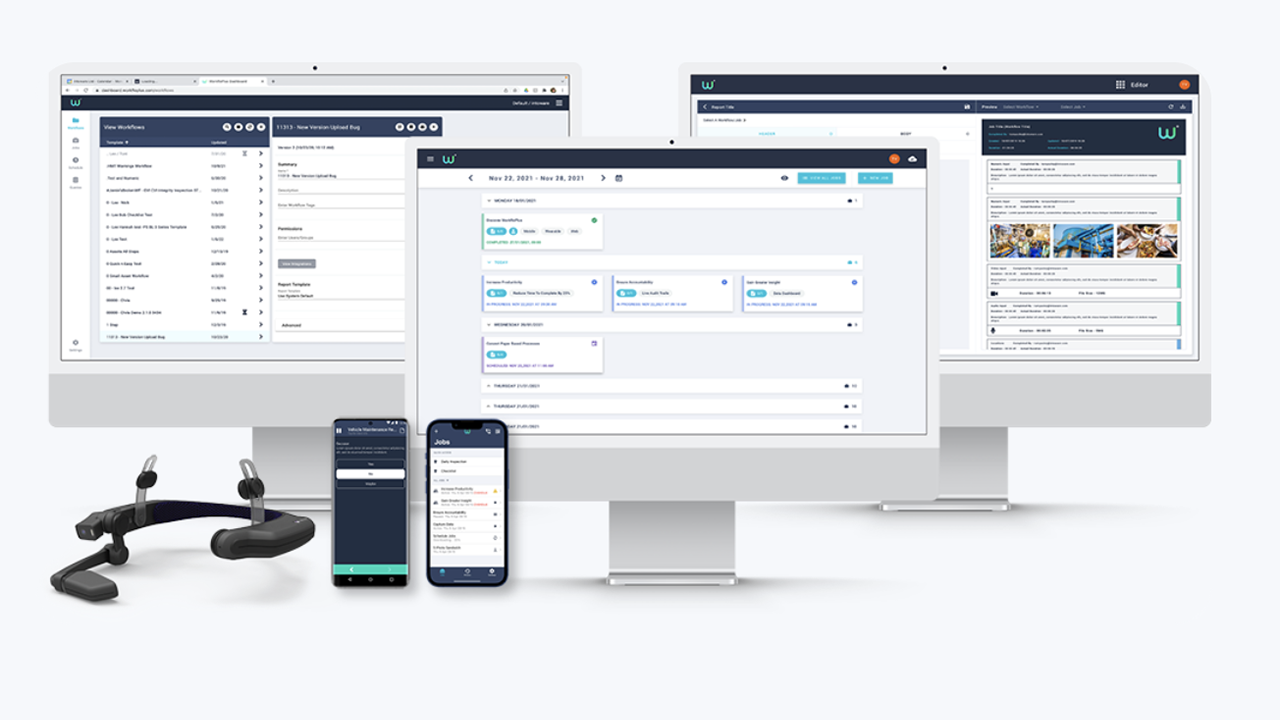
For example, you’re designing an application like WorkfloPlus; you might mention that your persona loves having valuable insight into their workforce so they can make data-lead changes to their processes. You will also add demographic information based on factual data gathered as part of your research; quotes from actual users can also help paint a vivid picture of your target user.
Now we know what our persona is, let’s consider why you need one in the first place; UX design is all about solving real user problems, but you can only do that once you’ve established a clear problem statement.

To write a meaningful problem statement, you first need to understand your users and their pain points; whether you’re developing an app, a website, or a service, it’s crucial to understand who will be using it. A user persona clarifies who you’re designing for; it acts as a point of reference throughout the entire process, ensuring that every feature or function of your design is done with the User in mind. Personas help strategise and make smarter design decisions; they make real users memorable when designing a solution or service, helping to build empathy further.
They help to answer the following questions; who is my ideal User or customer? What behaviour patterns do my users currently exhibit? What are the goals of my users? What issues and pain points do they now face within the given context? A solid user persona is your Northstar, guiding your designs from start to finish. Not only that, most designers work in multidisciplinary teams where it’s essential to communicate your findings from the user research; stage personas encompass all the crucial details about your users, presenting them in a memorable way that everyone can understand, not just designers, so you must get your personas right, and we're going to try and show you how are going to do that.
Before properly defining a User Persona, it’s crucial that you must have done plenty of research, gathering quantitative and qualitative data. Once you have your data, you can break it down into four easy steps.

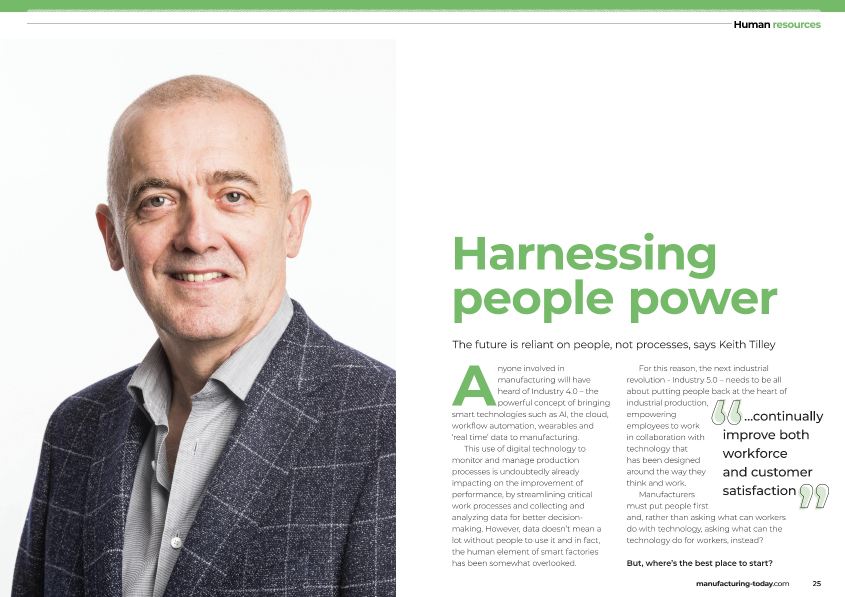
The first step may seem overly simple, add a header to your persona; this includes a fictional name, an image and a quote summarising what matters most to your User about your product, so the foundations of your persona might go something like this. Name, Joe Bloggs, Image, this cheerful-looking chap and a summary quote “Help me innovate the way me and my team work and tap into the power of my currently uncaptured data”. This first step might seem simple, but these features ensure your persona is memorable, keeping you focused on who it is being designing for.


The second step is adding a demographic profile. Demographic details are based on user research, and the demographic profile of your persona can be divided into four main sections; Personal Background, Professional Background, User Environment, and Psychographics.
The ‘Personal Background’ section includes details such as age, gender, education, persona group, and family status, so Joe’s ‘personal background’ might look like this; Joe, 40 years old, is in a relationship and has a degree in Business Management.

‘Professional Background’ includes details such as occupation, income level, and work experience. We might add that Joe works full-time as a Site Manager and earns roughly £60,000 per year.

Next, you’ll add details regarding the ‘User Environment’. The ‘User Environment’ represents the User’s physical, social and technological context. This section aims to answer questions such as; what devices does the User use? Do they spend most of their time working in an office or remotely? How often do they collaborate with others? So Joe’s user environment could be that he is mainly office based on his laptop and has a reasonably unhealthy dependency on his iPhone.

Then we come to the ‘Psychographic Section’. This is where you consider the User’s attitudes, interests, motivations and pain points. Creating a psychographic profile enables you to understand better why your User behaves in a certain way, including why they’d use your product. Some useful psychographic info to include in your user persona could be Joe is often spinning lots of plates, manages an overwhelming number of people, is productivity and efficiency orientated, and likes to work smart, not hard.

You can see how your user persona is starting to come to life. Creating a demographic profile adds a layer of realism to your persona, making tapping into that all-important empathy easier when designing for their needs.

The third step in the process is adding information about the User’s ‘End Goals’. The end goal is the motivating factor that inspires action and focuses on what the users want or need to accomplish when using your product; in Joe’s case, his end goal when using WorkfloPlus is to be enabled to quickly and efficiently manage his teams, whilst utilising data collected to improve processes and work smarter.


The fourth and final step when defining a user persona is to add a ‘Scenario’. The scenario is the day in the life narrative that describes how your persona would interact with your product to achieve their end goal. When writing a scenario, define when, where, and how the narrative takes place and write it from the persona’s perspective. For example, Joe’s scenario could start like this: Most weeks, I am up against it managing all my teams. I try to discover pitfalls and pain points in our processes but I'm too busy and I don't have time to sit down and identify them. Ideally, I’d like to find a piece of software that helps me manage my team, ensuring they're efficient whilst passively collecting data to help improve my processes.

So there you have it, your whistle-stop guide to defining a user persona. A quick side note before wrapping this up, when creating user personas, remember to stay focused on the problems you’re trying to solve; while you want to build a realistic end user, there’s no point in including pointless details that won’t influence the final design. Suppose you’re designing WorkfloPlus; In that case, it won’t make sense to include information on Joe’s favourite movies or his favourite flavour of crisps, so try only to include details that serve a design purpose.
Thank you for reading!




























.jpg)






.gif)
